

Run one Apex test locally
Task guide
Run one local Apex test from the terminal, CodeLens, and VS Code Test Explorer debug flow.
- Run one class from the CLI.
- Run the same test from the editor.
- Inspect local state when a selected test stops.
For the main task path, use the guide. This walkthrough keeps the illustrated steps and recovery details for this interface.
Before you start
glade doctor --project .passes.- The project has at least one Apex test class.
- The bundled Glade extension is installed and the project is open in VS Code. Keep your existing theme and profile.
The screenshots use a clean VS Code profile with Glade, Catppuccin Mocha, and the Salesforce Apex extension, with unrelated extensions omitted for capture. That records the illustrated environment; your normal profile and theme can be used for this task.
Steps
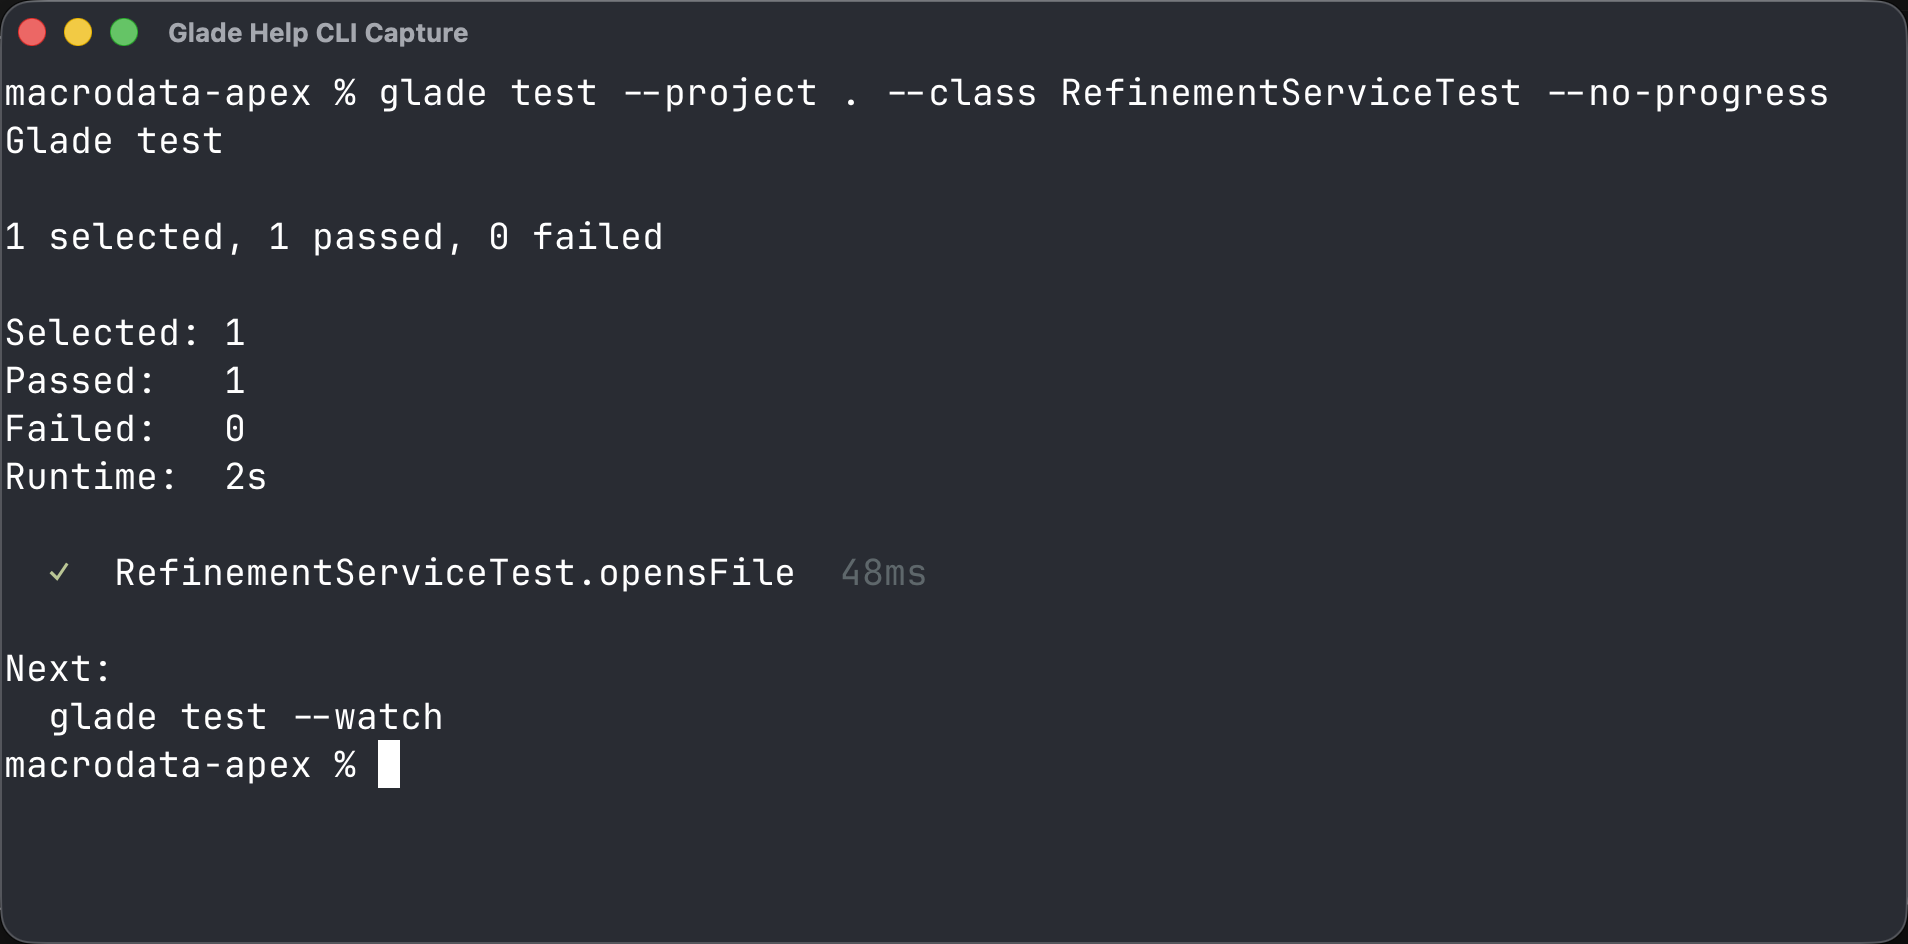
1. Run the test class in a terminal
glade test --project . --class <TestClass> --no-progressExpected: the named class contains at least one executed test method. Read selected and executed counts; an empty selection does not confirm that tests run. Unsupported outcomes are test errors, not passing results.
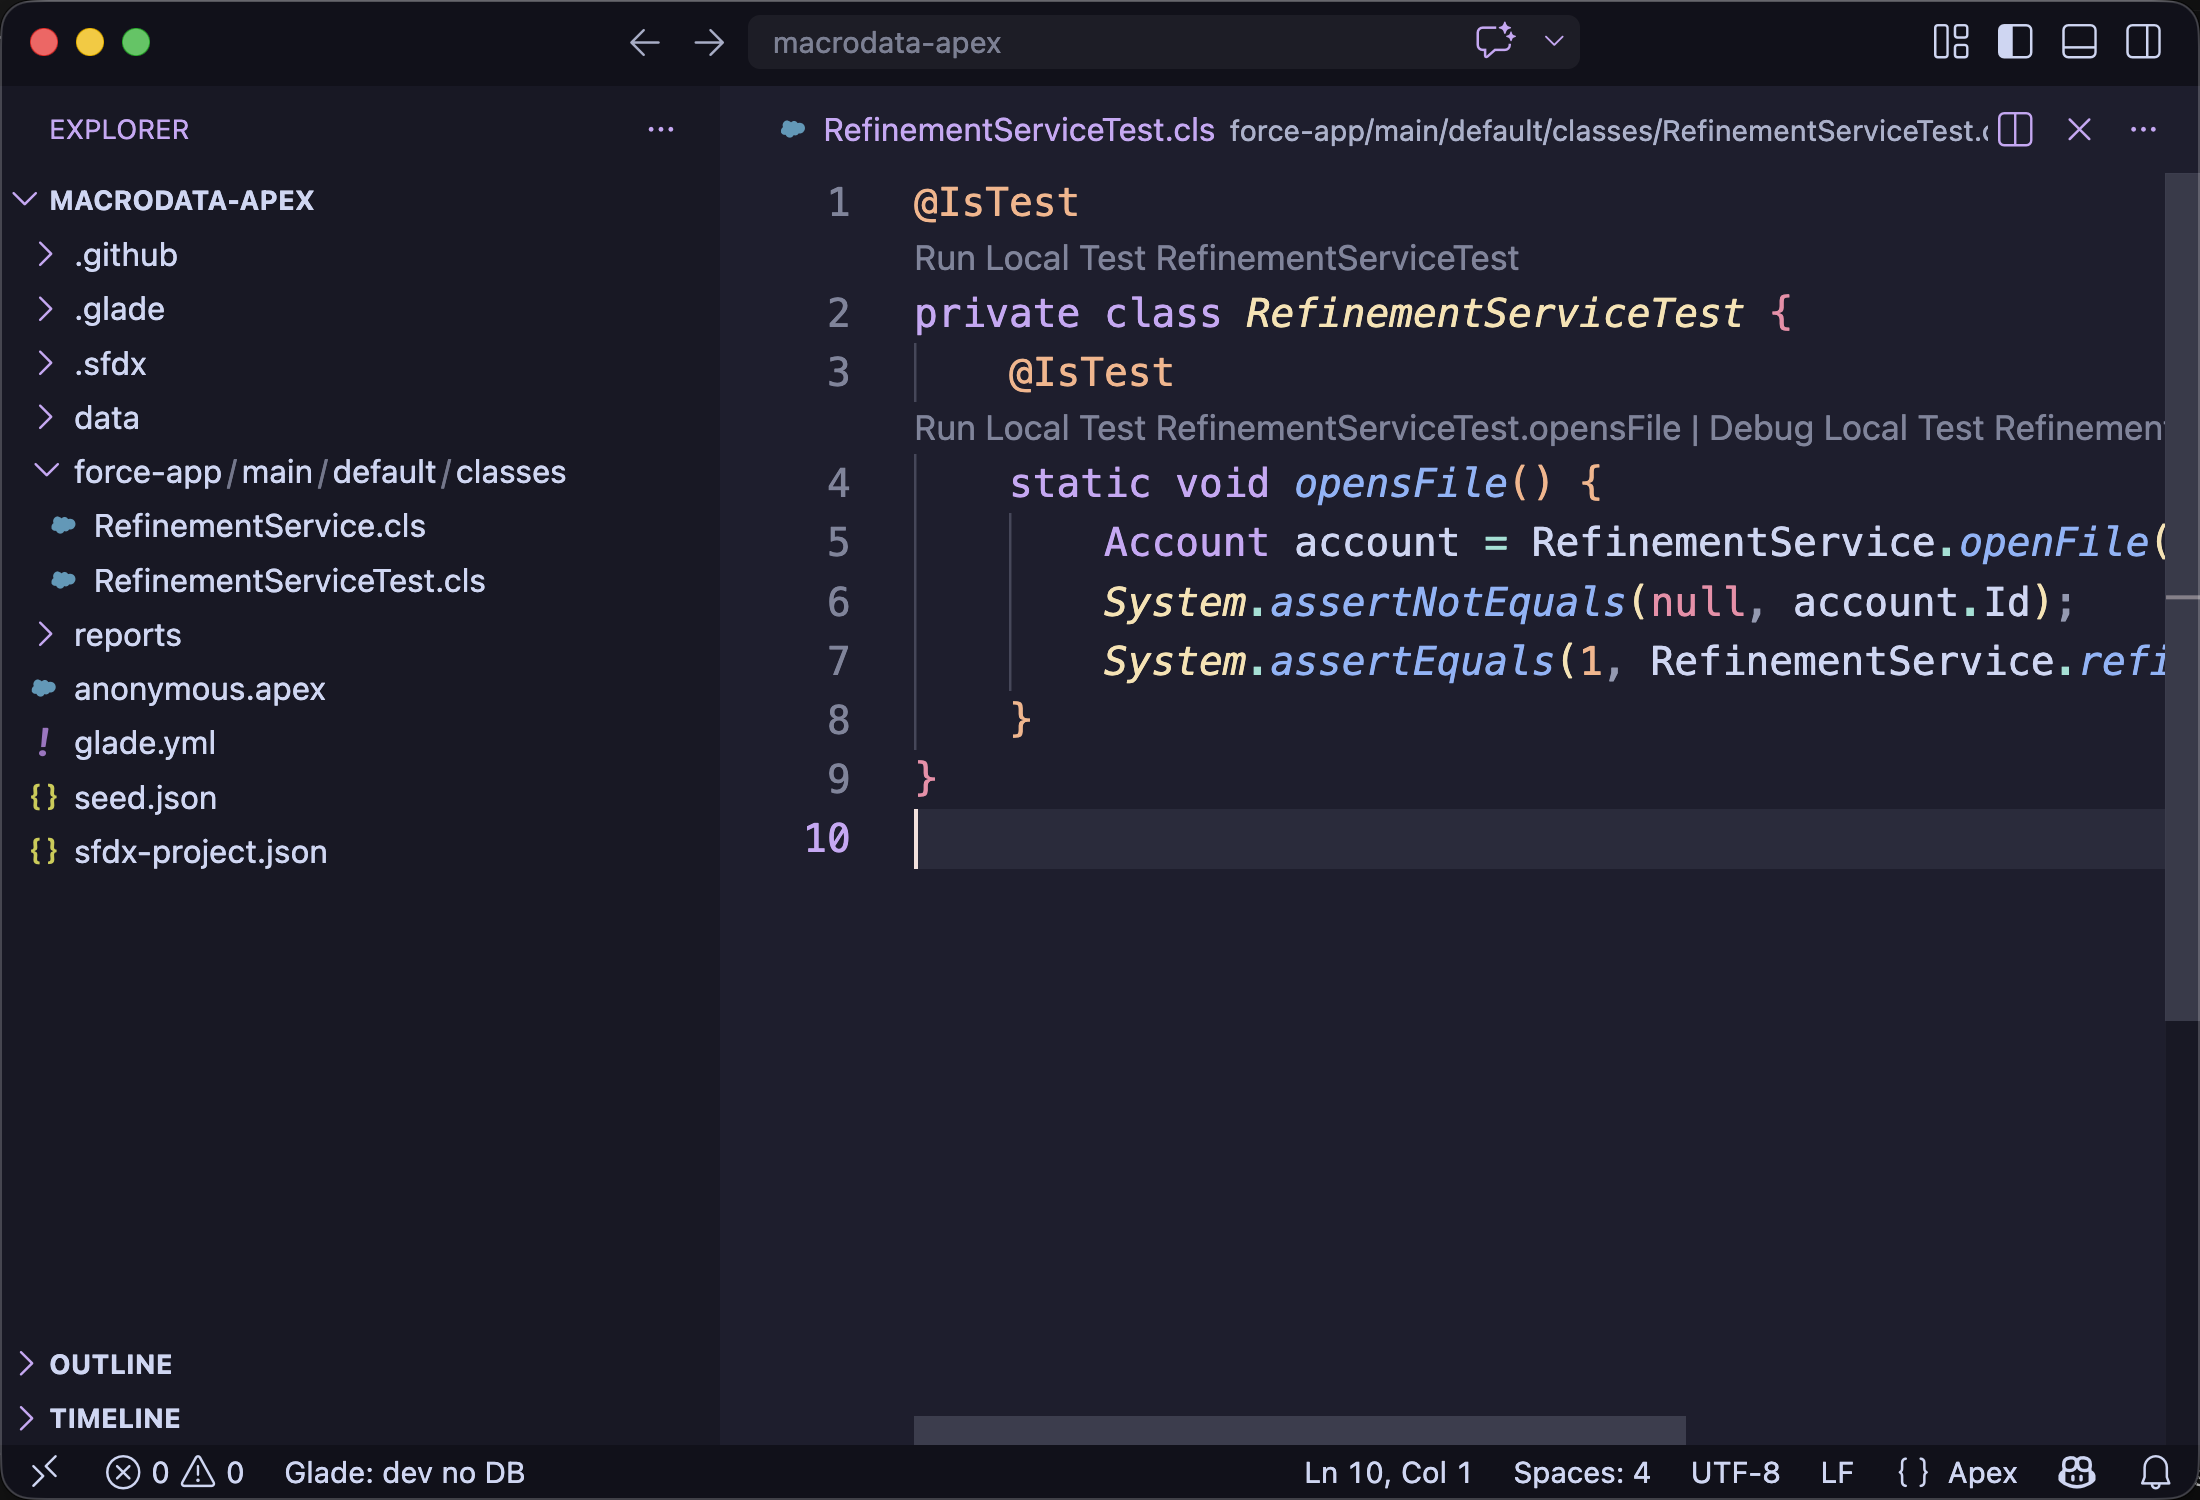
2. Run the test from CodeLens
Open a test class file. Click Run Local Test above the method or class.
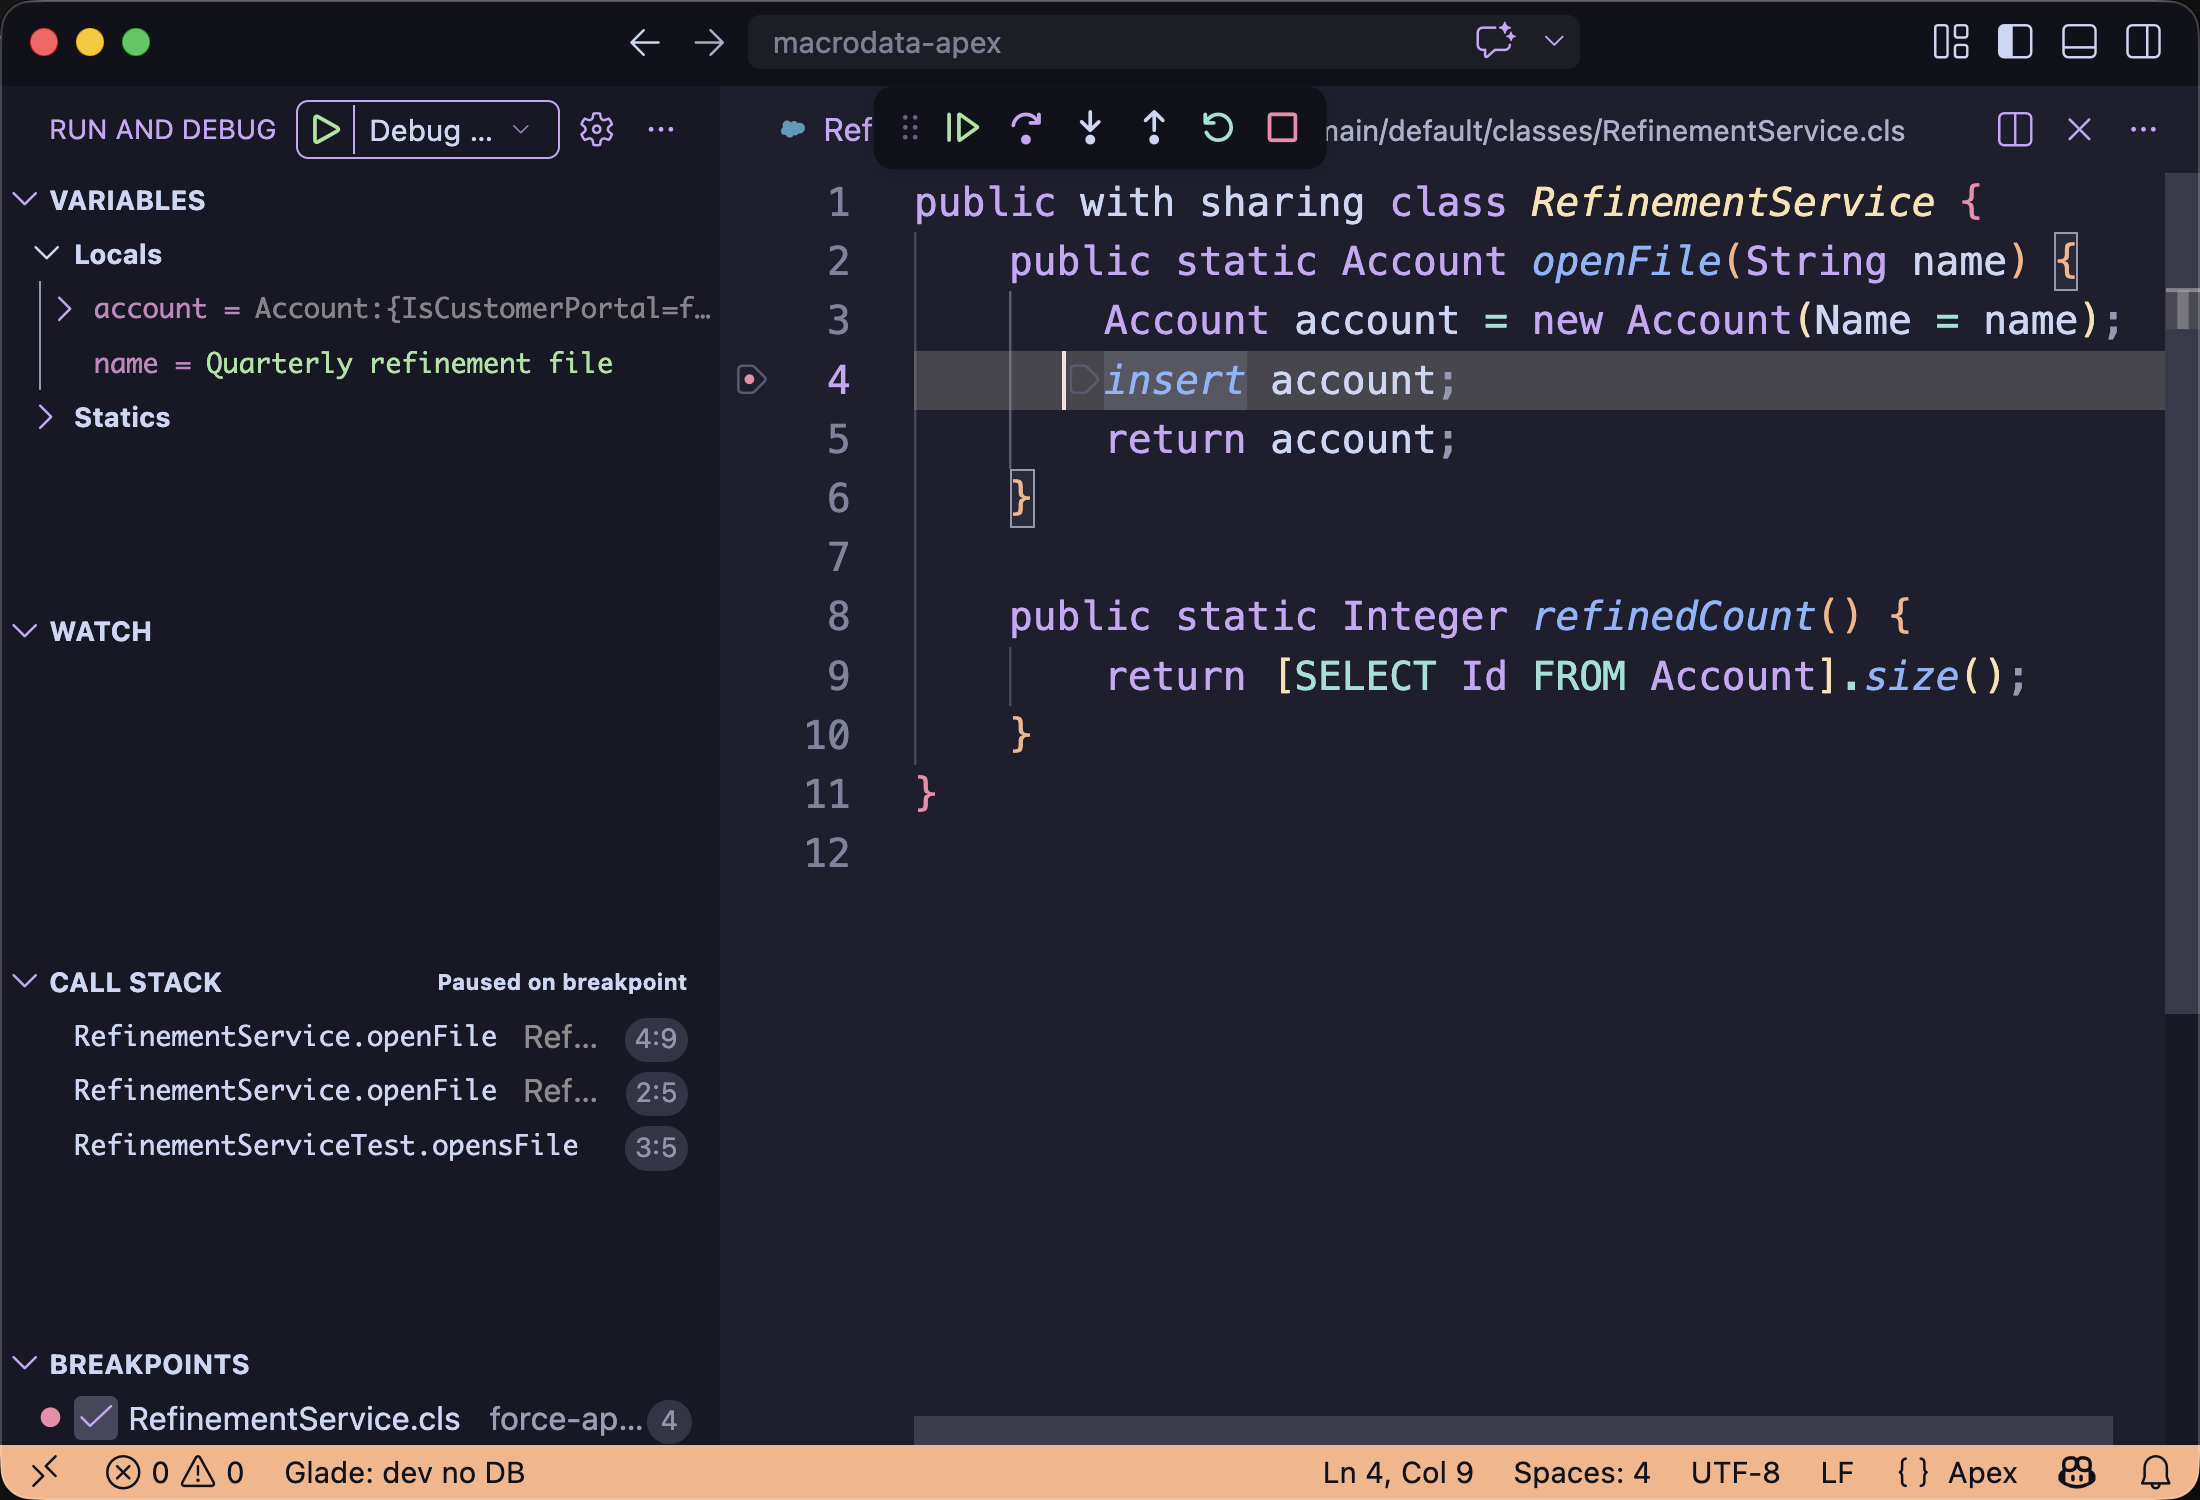
3. Debug from Test Explorer
Open the Apex code path you want to inspect. Set a breakpoint on the line you want to inspect before starting the debug action. Then open VS Code Testing, expand the test class, select the method, and start the debug action. VS Code switches to Run and Debug when the local test stops.
Expected: Variables shows local values at the stopped breakpoint.
Common wrong turn
If the test tree is empty, confirm the folder contains sfdx-project.json and run Glade: Refresh.